1. Gather Your Supplies:
Start by collecting all necessary cleaning materials. You will need mild dish soap or an all-purpose cleaner, warm water, sponges or microfiber cloths, and a bucket. Additionally, have a ladder or step stool on hand if your walls are high. Protect your hands with rubber gloves and keep dry towels or cloths for drying the walls. A vacuum cleaner with a brush attachment is useful for dusting. Having these items ready ensures a smooth and efficient cleaning process.

2. Prepare the Area:
Prepare your kitchen by removing items from the walls, such as pictures, decorations, and appliances. Move any nearby furniture to avoid getting it wet or dirty. Cover countertops and floors with drop cloths or old towels to catch any drips or splashes. Dust the walls using a vacuum cleaner with a brush attachment to eliminate loose dirt and cobwebs, making the subsequent cleaning more effective and reducing the risk of spreading dust around.

3. Choose the Right Cleaning Solution:
Select a cleaning solution based on the type of grime and wall surface. For general cleaning, mix a few drops of dish soap with warm water. For greasy areas, use an all-purpose cleaner or a mixture of equal parts white vinegar and water. For stubborn stains, apply a baking soda paste or use a magic eraser. This ensures that the cleaner you use will be effective without damaging the wall surface.

4. Clean the Walls:
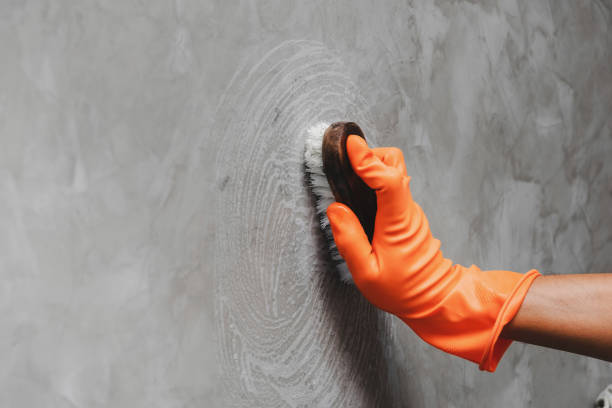
Start cleaning from the top of the walls and work your way down to prevent dirty water from dripping onto clean areas. Dip a sponge or microfiber cloth into the cleaning solution, wring out excess liquid, and gently scrub the walls in a circular motion. Rinse the sponge frequently in clean water to avoid spreading grime. For tough stains, apply the baking soda paste directly to the spot and scrub gently. Use a clean, damp cloth to wipe down any soap residue, ensuring no streaks are left behind.

5. Dry and Reassemble:
After cleaning, dry the walls using a dry cloth or towel to absorb any remaining moisture and prevent water spots or mildew growth. Check the walls for any missed spots and touch up if necessary. Once the walls are completely dry, reattach any items or decorations you removed earlier and replace any furniture or appliances that were moved. This final step ensures that your kitchen is not only clean but also looks organized and welcoming.

Conclusion:
Regularly cleaning your kitchen walls is vital for maintaining a fresh, hygienic environment. By following these five simple steps—gathering supplies, preparing the area, choosing the right cleaning solution, cleaning thoroughly, and drying—your kitchen walls will remain spotless and inviting. Incorporating these practices into your routine will ensure a cleaner and more pleasant cooking space throughout 2024.


