Keeping kitchen worktops clean is essential for maintaining a hygienic and aesthetically pleasing cooking environment. With constant use, worktops are subjected to spills, stains, and accumulated grime, making regular cleaning a must. If you’re wondering how to achieve a spotless worktop with minimal effort, you’re not alone. Many homeowners face the challenge of effectively cleaning various types of kitchen surfaces.
In this comprehensive guide, we will walk you through 5 Easy Steps to Clean Kitchen Worktops. Whether you’re dealing with granite, marble, laminate, or wood, these steps are designed to help you tackle dirt and grime efficiently. We’ll cover everything from clearing and decluttering to choosing the right cleaning solutions and addressing stubborn stains. By the end of this article, you’ll have all the knowledge you need to keep your kitchen worktops in top condition.
“What are the best practices for cleaning different types of kitchen worktops?”
Cleaning practices vary based on the material of your kitchen worktops. For granite and marble, pH-neutral cleaners are recommended to avoid damage. Laminate surfaces can be cleaned with general-purpose cleaners or a vinegar-water solution. Wooden worktops require careful cleaning with mild soap and special wood care products. Stainless steel worktops benefit from cleaners designed specifically for stainless steel. Understanding the specific needs of your worktop material is crucial for effective cleaning and long-term maintenance.

Step 1: Clear and Declutter the Worktop:
- Remove All Items: The first step in cleaning your kitchen worktops is to remove all items from the surface. This includes appliances, utensils, cutting boards, and any food items. Place these items in a temporary location where they won’t interfere with your cleaning process.
- Dispose of Waste: Check for any food scraps or trash. Dispose of any waste properly. This includes crumbs, spilled food, or expired items. For crumbs and small debris, use a hand broom or a small vacuum to collect them.
- Assess the Surface: moment to inspect your worktop. Look for sticky residues, stains, or areas with accumulated grime. This will help you prioritize your cleaning efforts and focus on the most problematic areas.
- Additional Considerations:
- Electrical Appliances: Ensure that all electrical appliances are unplugged and moved safely. This not only ensures your safety but also protects your appliances from potential damage during the cleaning process.
Food Items: For food items, check expiration dates and store them in a clean, organized manner. This helps in preventing contamination and maintains a clutter-free workspace.

Step 2: Choose the Right Cleaning Solution:
- Determine Your Surface Type: Understanding the material of your worktop is crucial in selecting the appropriate cleaning solution. Different materials require different cleaning agents to avoid damage and achieve the best results.
- Select a Cleaning Solution: Here’s a guide based on different types of kitchen surfaces:
- Granite and Marble: Use a pH-neutral cleaner specifically designed for stone surfaces. You can also use a solution of warm water and mild dish soap. Avoid acidic cleaners as they can damage the stone.
- Laminate: A mixture of water and vinegar or a general-purpose cleaner is effective for laminate surfaces. Ensure that the cleaner is suitable for laminate to prevent surface damage.
- Wooden Worktops: Clean wooden surfaces with a mixture of water and mild soap. Avoid soaking the wood as excessive moisture can lead to warping or damage. Use a specialized wood cleaner for added protection.
- Stainless Steel: Use a cleaner designed for stainless steel or a mixture of water and a small amount of dish soap. Stainless steel cleaners help maintain the shine and prevent streaks.
- Test the Cleaner
- Before applying any cleaner to the entire surface, it’s important to test it on a small, inconspicuous area. This helps to ensure that the cleaner does not cause any damage or discoloration. Apply a small amount of cleaner, let it sit for a few minutes, and then wipe it off to check for any adverse reactions.
Environmental Considerations: For those interested in eco-friendly options, many natural cleaners are effective and safe for various surfaces. Baking soda, lemon juice, and vinegar are commonly used for their natural cleaning properties and are less harsh on the environment.

Step 3: Clean the Worktop:
- Prepare the Cleaning Solution: Mix your chosen cleaner according to the instructions provided. For homemade solutions, such as vinegar and water, use a 1:1 ratio. For dish soap, a few drops in warm water are sufficient. Ensure the solution is well-mixed to achieve the best cleaning results.
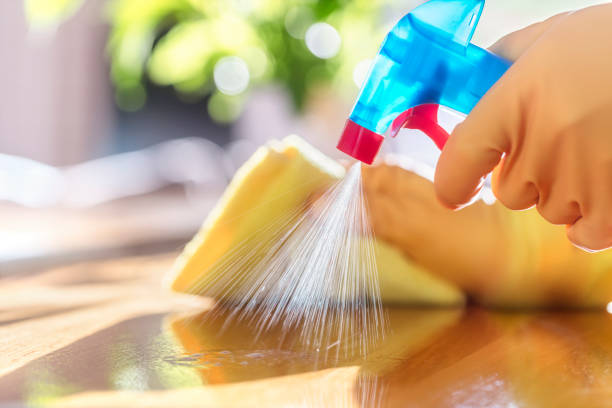
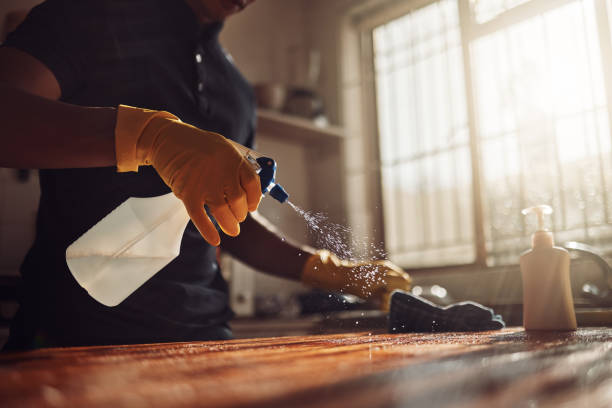
- Wipe Down the Surface: Using a clean, soft cloth or sponge, apply the cleaning solution to the worktop. Work in small sections to ensure thorough cleaning. For stubborn spots or grime, let the solution sit for a few minutes before scrubbing.
- Rinse and Wipe: After cleaning, rinse the cloth or sponge in clean water and wipe down the surface to remove any soap residue. For non-porous surfaces like laminate and stainless steel, you can use a damp cloth and then dry the surface to prevent water spots.
- Dry the Surface: Use a dry, clean cloth or paper towel to thoroughly dry the worktop. This step is crucial to avoid water spots and potential damage, especially on wooden and stone surfaces. Ensure the worktop is completely dry before returning any items to the surface.
Cleaning Tools:
- Cloths and Sponges: Use soft, non-abrasive cloths and sponges to prevent scratching the surface. Microfiber cloths are particularly effective for trapping dirt and grime.
- Scrub Brushes: For stubborn stains, a soft-bristled scrub brush can help. Avoid abrasive brushes that can damage the surface.
Step 4: Address Stains and Grime:
- Identify Stains: Different stains require different treatments. For example, grease stains might need a degreasing agent, while coffee or wine stains may require a more specific stain remover. Identifying the type of stain helps in choosing the most effective treatment.
- Apply the Treatment: Apply the stain treatment to the affected area and let it sit for 10-15 minutes. For tough stains, gently scrub with a non-abrasive sponge or brush. Be careful not to apply excessive force as it can damage the worktop.
- Rinse and Repeat: After treating the stain, rinse the area with clean water and wipe it dry. For persistent stains, you may need to repeat the process or use a different stain remover suited for the specific type of stain and surface.
Special Treatments:
- Granite and Marble: For oil-based stains, use a poultice made from baking soda and water. Apply it to the stain, cover with plastic wrap, and let it sit for 24 hours before wiping away.
- Wooden Worktops: For deep stains, consider using a wood stain remover or a mixture of baking soda and water. Always test in a small area first to ensure it doesn’t damage the wood.

Step 5: Maintain and Protect Your Worktop:
- Regular Cleaning Routine: Establishing a regular cleaning routine helps in maintaining the appearance and functionality of your worktops. Daily or weekly cleanings will prevent the buildup of grime and make each cleaning session easier.
- Use Protective Measures: Using cutting boards, trivets, and coasters can protect your worktop from damage. This prevents scratches, burns, and stains. Ensure that these protective items are cleaned regularly to avoid transferring dirt back onto the worktop.
- Address Spills Immediately: Clean up spills as soon as they occur to prevent stains and surface damage. For spills, quickly blot up any excess liquid and clean the area with the appropriate cleaner.
- Inspect and Maintain: Regularly inspect your worktop for signs of wear or damage. For natural stone surfaces, periodic sealing may be necessary to maintain their appearance and durability. Follow manufacturer guidelines for sealing and maintenance.
- Professional Cleaning: For heavily stained or damaged worktops, consider professional cleaning services. They have specialized equipment and cleaning solutions that can restore the surface to its original condition.
