“How do I restore my yellowed kitchen cabinets to their original beauty?”
“Over time, kitchen cabinets can lose vibrancy and turn yellowish due to age, sunlight, or grease. Follow these five steps to revitalize them and refresh your kitchen.”
“My kitchen cabinets have lost their shine and turned yellow. How can I revive them?”
“If your kitchen cabinets have yellowed from age, sunlight, or grease, follow these five steps to restore their original beauty.”

Step 1: Assessment and Preparation:
- Assessing the Condition of Your Cabinets: Assessment and preparation are crucial initial steps in the process of revitalizing yellowed kitchen cabinets. Follow these detailed guidelines to effectively assess and prepare your cabinets for restoration:
- Inspection of Cabinet Condition: Begin by inspecting each cabinet thoroughly to assess the extent of yellowing, wear, and damage. Note areas where the finish may be chipped, cracked, or discolored due to factors such as age, sunlight exposure, or grease buildup.
- Identifying Necessary Repairs: Make a list of any repairs needed, such as replacing damaged hinges, repairing cracks, or filling in gaps. Addressing these issues early ensures that the cabinets are structurally sound and ready for the restoration process.
Preparing Your Workspace:
- Clearing and Organizing: Before starting any restoration work, clear out the cabinets and remove all items and shelves. This step allows for easier access to the cabinet surfaces and prevents items from getting damaged during the cleaning and refinishing process.
- Gathering Tools and Materials: Ensure you have all the necessary tools and materials on hand for the revitalization process. This may include sandpaper of various grits, cleaning supplies, degreasers, wood filler, paint or stain, brushes or rollers, and protective equipment such as gloves and goggles.
- Setting Up a Workspace: Designate a clean and well-ventilated workspace for the restoration project. Lay down protective coverings to safeguard floors and countertops from spills and stains. Arrange tools and materials within easy reach to facilitate a smooth and efficient workflow.
- Taking Before Photos: Document the current condition of your cabinets by taking before photos. These photos serve as a reference point and can be helpful when planning repairs or comparing the final results after the restoration process is complete.
Step 2: Cleaning and Degreasing:
- Thorough Cleaning Techniques: Cleaning and degreasing are essential steps in the process to Revitalize Yellowed Kitchen Cabinets. Follow these detailed tips to effectively clean and prepare your cabinets for restoration:
Choosing the Right Cleaning Products: Select cleaners that are suitable for kitchen cabinets and can effectively cut through grease and grime. Avoid abrasive cleaners that could damage the cabinet surface. Look for gentle yet effective options, such as mild dish soap diluted in water or specialized cabinet cleaners.
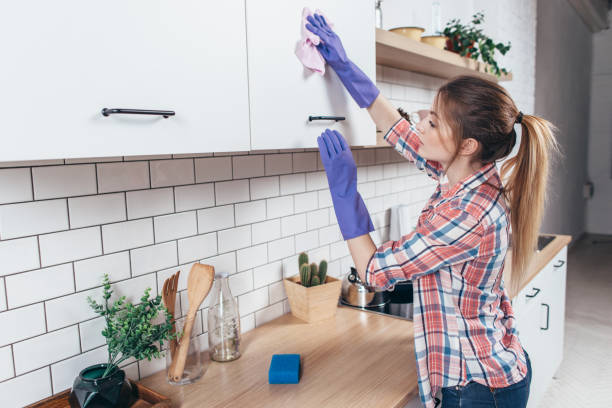
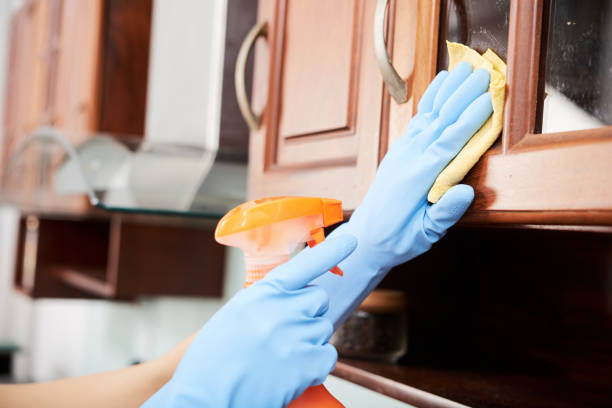
Cleaning Process: Start by removing all items from the cabinets and thoroughly wipe down the surfaces with a clean cloth dampened with the chosen cleaning solution. Pay particular attention to areas around handles and hinges where grease buildup is common. Repeat the process as needed to ensure all dirt and residue are removed.
Degreasing the Cabinets3. Using Degreasing Agents: For stubborn grease buildup, use degreasing agents specifically formulated for kitchen surfaces. Apply the degreaser according to the manufacturer’s instructions, allowing it to sit for a few minutes to penetrate the grease. Use a sponge or scrub brush to gently scrub away grease and grime, then rinse thoroughly with clean water.
Removing Stubborn Stains: For persistent stains, such as those caused by cooking oils or food spills, apply a paste of baking soda and water to the affected area. Let it sit for a few minutes before scrubbing gently with a soft brush or sponge. Rinse thoroughly and repeat if necessary until the stain is lifted.
Drying Cabinets Properly: After cleaning and degreasing, wipe down the cabinets with a clean, dry cloth to remove excess moisture. Allow the cabinets to air dry completely before proceeding to the next steps in the revitalization process.
Step 3:Sanding and Smoothing:
Preparing the Surface: In the journey to Revitalize Yellowed Kitchen Cabinets, sanding and smoothing play a critical role in achieving a smooth, professional finish. Follow these tips to effectively prepare your cabinets for refinishing:
1. Choosing the Right Sandpaper: Selecting the appropriate grit of sandpaper is essential for effective sanding. Begin with a coarse grit (around 80-100) to remove the existing finish and any imperfections on the surface of the cabinets. This initial sanding will help smooth out rough spots and prepare the surface for finer sanding.
2. Sanding Technique: Always sand with the grain of the wood to avoid creating scratches or damaging the surface. Use consistent pressure and gentle strokes to ensure an even finish. Take care to sand all areas evenly, including corners and edges, to achieve a uniform appearance.
3. Removing Old Finish: Ensure that all traces of the old finish, whether varnish, paint, or stain, are completely removed during the sanding process. This step is crucial to create a clean and receptive surface for the new finish to adhere to effectively.
Ensuring an Even Surface:
After the initial sanding process, it’s important to inspect the cabinets thoroughly for any remaining imperfections:
4. Inspecting for Imperfections: After sanding, carefully inspect the cabinets for any remaining rough patches, scratches, or uneven areas. Address these imperfections by sanding them down further or using wood filler to fill in any gaps or holes.
5. Final Smoothing: Finish the sanding process with a finer grit sandpaper (around 120-180) to achieve a smooth and polished surface. This final smoothing step will help prepare the cabinets for the application of a new finish, ensuring a professional and refined look.

Step 4: Applying Fresh Finish:
- Choosing and Applying the Finish: Choosing the right finish—whether paint, stain, or varnish—is crucial for revitalizing yellowed kitchen cabinets. Here’s a concise guide on selecting and applying each type effectively:
Choosing the Right Finish
- Paint: Opt for acrylic or oil-based paints in light colors for a bright look or darker shades for a dramatic effect. Ensure the paint is durable and suited for kitchen use.
- Stain: Choose water-based stains for ease of application or oil-based stains for deeper color penetration. Apply multiple coats as needed to achieve the desired shade.
- Varnish: Select matte, satin, or gloss varnish based on your desired level of shine. Apply evenly in thin coats, allowing each coat to dry completely before sanding lightly and applying the next.
Applying the Finish Effectively:
- Preparation: Clean cabinets thoroughly and remove dust. Use a tack cloth to ensure a smooth surface before applying the finish.
- Application: Apply paint with a brush or roller, stain with a brush or cloth following the wood grain, and varnish with a brush or sprayer in even coats. Allow proper drying and curing time between coats as per product instructions.
- Final Touch: Ensure cabinets dry and cure in a well-ventilated area to achieve a durable and professional finish.

Step 5: Final Touches and Maintenance Tips:
- Adding Final Details:“As highlighted in ‘5 Steps to Revitalize Yellowed Kitchen Cabinets,’ the final touches are essential for achieving a polished and renewed appearance for your cabinets.”
- Reassembling Cabinets: Once the finish has fully cured, carefully reassemble cabinets ensuring all components fit snugly and operate smoothly.
- Enhancing with New Hardware: Upgrade cabinet hardware such as knobs, handles, and hinges to complement the refreshed look and enhance functionality.
Maintenance Tips: “To maintain the revitalized appearance of your cabinets and prevent future yellowing, follow these practical maintenance tips recommended in ‘5 Steps to Revitalize Yellowed Kitchen Cabinets’:”
- Regular Cleaning Routine: Clean cabinets regularly with a gentle cleaner to remove dust, grease, and buildup without damaging the finish.
- Minimize Sun Exposure: Reduce direct sunlight exposure on cabinets to prevent accelerated fading and yellowing of the finish over time.
- Protective Coating Application: Apply a protective coating or wax periodically to maintain the finish’s integrity and protect against wear and tear.
- Handle Moisture Carefully: Promptly wipe up spills and splashes to prevent water damage and staining. Use coasters or mats under kitchen appliances to safeguard cabinet surfaces.
- Inspect and Repair: Routinely inspect cabinets for signs of wear, scratches, or damage to address issues promptly and prevent further deterioration.
- Control Temperature and Humidity: Maintain consistent levels of temperature and humidity in the kitchen to minimize expansion and contraction of cabinet materials, which can affect the finish.
