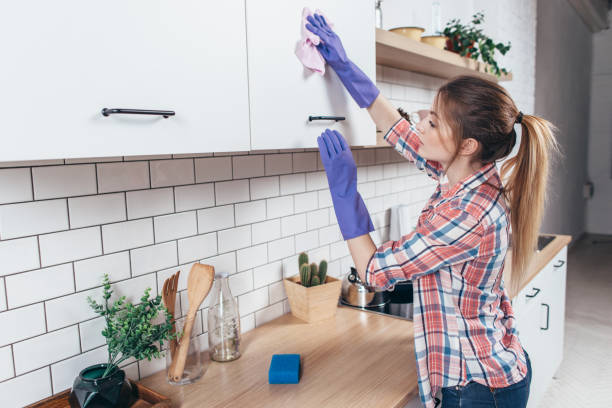
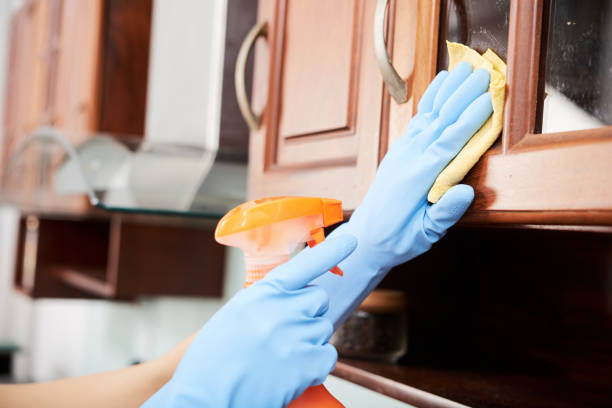
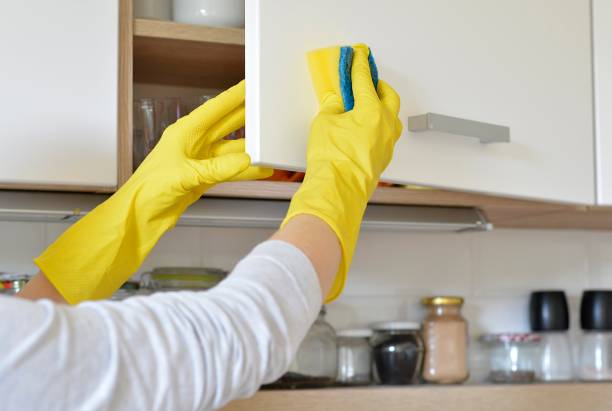
Cleaning grime off kitchen cabinets can be a daunting task, especially when it seems like no cleaner or method is effective enough. However, with the right approach and tools, you can restore your cabinets to their former glory.
“How can I effectively clean grime off my kitchen cabinets?”
Cleaning grime off kitchen cabinets can seem like a never-ending battle, especially in a busy household where cabinets are subjected to grease, food splatters, and fingerprints on a daily basis. However, with the right techniques and a bit of elbow grease, you can restore your cabinets to their original shine without damaging their finish. In this comprehensive guide, we will explore five effective methods to help you tackle grime buildup and maintain pristine kitchen cabinets.
Whether your cabinets are made of wood, laminate, or another material, regular cleaning is essential not only for aesthetics but also for prolonging their lifespan. By incorporating these proven methods into your cleaning routine, you can achieve impressive results and keep your kitchen looking fresh and inviting.
In this article, we’ll explore five effective methods to help you achieve sparkling clean kitchen cabinets that look as good as new.

Method 1: Vinegar and Water Solution
One of the simplest and most effective ways to clean grime off kitchen cabinets is by using a vinegar and water solution. Vinegar, with its acidic properties, helps break down grease and grime while being gentle on most cabinet surfaces. Here’s a step-by-step guide on how to effectively use this natural cleaner:
Materials Needed:
- White vinegar
- Water
- Microfiber cloth or sponge
- Spray bottle
Steps:
- Prepare the Solution: Mix equal parts white vinegar and water in a spray bottle. For example, you can mix 1 cup of vinegar with 1 cup of water.
- Spray the Solution: Spray the vinegar and water solution onto the grimy areas of the cabinets. Focus on spots with visible grime buildup.
- Allow to Sit: Let the solution sit on the cabinets for a few minutes. This allows the vinegar to penetrate and loosen the grime.
- Wipe Down: Use a microfiber cloth or sponge to wipe down the cabinets. Use gentle circular motions to effectively lift off the grime.
- Repeat as Needed: For stubborn stains or heavily soiled areas, repeat the process. You may need to apply the solution multiple times and let it sit longer before wiping.
- Dry Thoroughly: Once you’ve cleaned the cabinets, use a dry microfiber cloth to dry them thoroughly. This step helps prevent streaks and water spots.

Method 2: Baking Soda Paste
For cabinets that aren’t heavily soiled, using a mixture of dish soap and warm water is an effective and gentle cleaning method. Here’s how you can clean grime off kitchen cabinets using dish soap and warm water:
Materials Needed:
- Dish soap
- Warm water
- Microfiber cloth or sponge
Steps:
- Prepare the Cleaning Solution: Fill a bucket or sink with warm water. Add a few drops of dish soap to the water and mix gently until suds begin to form. The warm water helps to dissolve grease and grime, while the dish soap acts as a mild detergent to lift dirt from the cabinet surfaces.
- Dip and Wring Out: Dip a microfiber cloth or sponge into the soapy water mixture. Wring out excess water so that the cloth or sponge is damp but not dripping wet.
- Scrub Gently: Starting from the top of the cabinets, gently scrub the surfaces with the dampened microfiber cloth or sponge. Use circular motions to effectively lift off dirt, grease, and food splatters. Pay extra attention to areas around handles and near cooking surfaces, where grime tends to accumulate.
- Rinse and Wipe Down: Rinse the microfiber cloth or sponge frequently in clean water to remove dirt and soap residue. Continue wiping down the cabinets until you’ve cleaned all surfaces thoroughly.
- Dry the Cabinets: Once you’ve cleaned the cabinets, use a dry microfiber cloth to wipe down and dry the surfaces. This step helps to prevent water spots and streaking, leaving your cabinets looking clean and polished.
- Finish with a Polish (Optional): If desired, you can apply a small amount of furniture polish or a wood-safe conditioner to add shine and protection to the cabinet surfaces. Follow the manufacturer’s instructions for application and buff with a clean, dry cloth.

Method 4: Commercial Cabinet Cleaners
Commercial cleaners specifically designed for kitchen cabinets offer convenience and effectiveness in tackling tough grime and grease buildup. Here’s a detailed guide on how to use these cleaners effectively:
Materials Needed:
- Commercial cabinet cleaner (follow manufacturer’s instructions)
- Microfiber cloth
Steps:
- Choose the Right Cleaner: Select a commercial cabinet cleaner that is suitable for the type of material your cabinets are made from (e.g., wood, laminate, painted surfaces). Read and follow the manufacturer’s instructions on the cleaner’s label carefully.
- Preparation: Before applying the cleaner, ensure the cabinets are free from any loose debris or dust. You can use a dry microfiber cloth to gently wipe down the surfaces.
- Application: Spray or apply the commercial cleaner onto the cabinets according to the manufacturer’s directions. Be sure to cover all areas that have grime buildup, focusing on spots near handles and around cooking areas where grease tends to accumulate.
- Dwell Time: Allow the cleaner to sit on the cabinets for the recommended amount of time as specified on the product label. This dwell time allows the cleaner to effectively break down and dissolve the grime.
- Wipe Down: Use a clean microfiber cloth to wipe down the cabinets after the dwell time has elapsed. Follow the grain of the wood or the direction of the cabinet finish to ensure thorough cleaning. The microfiber cloth helps to lift off the dissolved grime and cleaner residue without scratching the surface.
- Buff and Dry: After wiping down the cabinets, use a dry microfiber cloth to buff the surfaces. This step helps to restore the cabinet’s natural shine and removes any remaining cleaner residue.
- Ventilation: Ensure the area is well-ventilated while using commercial cleaners to avoid inhaling fumes. Open windows or use exhaust fans if necessary.
- Final Inspection: Inspect the cabinets for any missed spots or streaks. Repeat the cleaning process if needed for stubborn grime or heavily soiled areas.

Method 5: Oil Soap Solution

