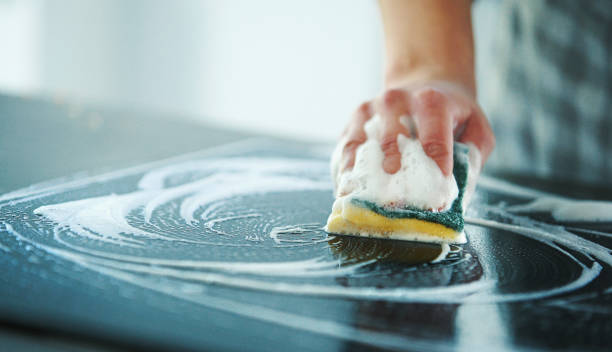
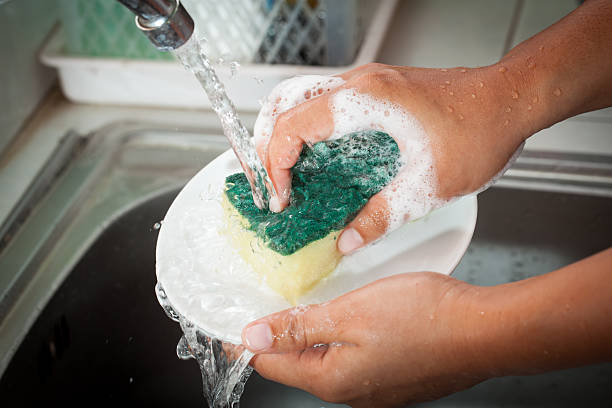
Keeping kitchen tools and equipment clean is essential for maintaining a safe and hygienic cooking environment. Proper cleaning not only extends the lifespan of your utensils and appliances but also prevents the spread of bacteria and foodborne illnesses. By following systematic steps, you can ensure that your kitchen remains clean and organized.
Why is it important to clean kitchen tools and equipment regularly?
Regular cleaning prevents the buildup of bacteria and food residues, ensuring food safety and hygiene. It also prolongs the lifespan of your tools and equipment, making them more effective and easier to use.

Table of Contents
ToggleSteps in Cleaning Kitchen Tools and Equipment:
Keeping your kitchen tools and equipment clean is essential for maintaining food safety and hygiene. Proper cleaning not only extends the life of your utensils but also ensures a safe cooking environment. This guide outlines the necessary steps to effectively clean your kitchen tools and equipment.

1. Gather Cleaning Supplies:
Before you begin, it’s important to have all your cleaning supplies ready. Having everything at hand will streamline the process and make it more efficient. Here’s a list of essential supplies:
- Sponges or Scrub Brushes: Use appropriate sponges for different materials to avoid scratches.
- Dish Soap: A mild detergent is effective for most cleaning tasks.
- Baking Soda: Acts as a gentle abrasive for tougher stains.
- Vinegar: A natural disinfectant that helps remove odors and residues.
- Sanitizing Spray: For additional disinfection, especially after handling raw foods.
- Clean Towels or Rags: For drying and wiping surfaces clean.

2. Pre-Rinse or Soak:
Pre-rinsing or soaking your tools and equipment helps to loosen food residues and makes scrubbing easier.
- Pre-Rinsing: Rinse utensils, cutting boards, and cookware under warm water to remove large food particles. This step prepares the items for a more thorough cleaning.
- Soaking: For items with baked-on food or stubborn grease, soak them in warm, soapy water for a few minutes. This will help to loosen debris and make scrubbing more effective.

3. Scrub and Clean:
Once pre-rinsing or soaking is complete, it’s time to scrub the items thoroughly.
- Choose the Right Tools: Use sponges or brushes suitable for the material. For instance, use soft sponges for non-stick cookware and more abrasive scrubbers for stainless steel.
- Apply Cleaning Solutions: Use a mixture of dish soap and warm water or a paste of baking soda and water for tough stains. For wooden items, a vinegar-water solution works well.
- Focus on All Areas: Pay attention to handles, crevices, and any hard-to-reach spots where food particles may hide. Ensure every inch of the item is cleaned.

4. Use Appropriate Cleaners:
Different materials require different cleaning approaches to avoid damage.
- Stainless Steel: A cleaner specifically designed for stainless steel or a mix of vinegar and water is effective. Always wipe in the direction of the grain to prevent scratching.
- Wooden Utensils: Avoid soaking them. Instead, wipe with a damp cloth and a bit of soap. Oil them periodically to maintain their finish and prevent drying.
- Plastic and Glass: These materials are generally safe with mild dish soap. Steer clear of harsh chemicals that could cause discoloration.

5. Rinse Thoroughly:
After scrubbing, rinsing is essential to remove any soap and cleaning solution residues.
- Use Warm Water: Rinse items under warm running water. Make sure all soap is washed away, as residues can affect food safety and flavor.
- Check for Remaining Stains: Inspect items as you rinse. If stains persist, address them before the final drying step.

6. Dry Completely:
Proper drying is crucial to prevent the growth of bacteria and mold.
- Air Dry vs. Towel Dry: You can let items air dry on a clean drying rack or use clean towels for quicker drying. Ensure that utensils and equipment are arranged in a well-ventilated area.
- Avoid Stacking Wet Items: Stacking damp tools can trap moisture, promoting bacterial growth. Ensure items are spaced out adequately for drying.

7. Sanitize (if Necessary):
Sanitizing is an important step, especially for tools that have come into contact with raw meats or poultry.
- Create a Sanitizing Solution: Mix one tablespoon of unscented liquid chlorine bleach with one gallon of water. Soak items for at least one minute to ensure they are adequately sanitized.
- Rinse Again: After sanitizing, rinse items thoroughly with clean water to remove any bleach residue. This step is crucial for safety.

8. Store Properly:
Once everything is clean and dry, it’s time to store your kitchen tools and equipment properly.
- Organize by Use: Store frequently used items within easy reach while keeping less-used items in higher cabinets or less accessible areas.
- Use Clean Containers: Ensure that storage containers are clean to avoid contamination. Organizing similar items together can make finding them easier.
- Label When Necessary: If you have many similar items, consider labeling containers for easy identification. This can save time and prevent mix-ups in a busy kitchen.

Conclusion:
Maintaining clean kitchen tools and equipment is vital for food safety and hygiene. Regular cleaning not only prevents the spread of bacteria and foodborne illnesses but also enhances the lifespan and efficiency of your utensils and appliances. By following the systematic steps outlined in this guide—gathering supplies, pre-rinsing, scrubbing, rinsing, drying, sanitizing, and proper storage—you can create a safe and organized cooking environment. Prioritizing cleanliness in your kitchen not only contributes to better meal preparation but also promotes a healthier lifestyle for you and your family. Make cleanliness a habit, and enjoy the benefits of a well-maintained kitchen.